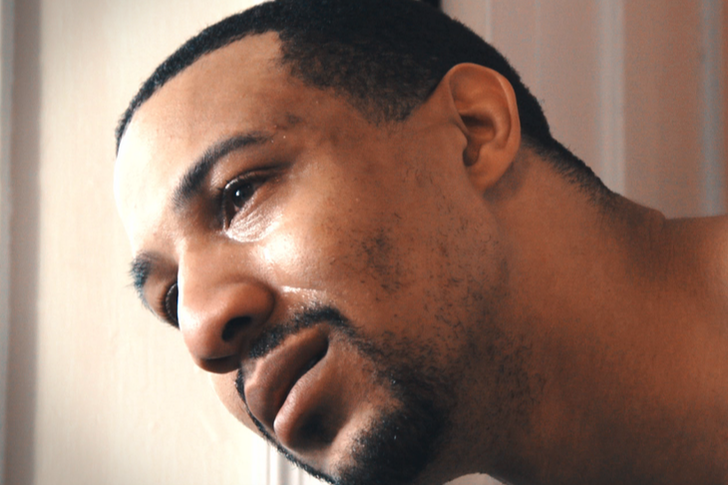
 Landing a good, hard hit during fighting scenes can be difficult to pull off unless someone is willing to get hurt or you have access to experienced stage fighting actors. Staged punches, kicks, and other hits often look to be just that- staged. They often appear slow or it might be really obvious that the hit did not connect with the target just right. It can easily take a whole day on set to film a fight scene just right, and even then, the hits might not land as hard as you want them to for the scene. Don't throw the towel in yet though! Today we are going to show you a quick and easy trick to help you get those fight scenes knocked out! There's also a free practice footage file that you can download at the end of this article so you can try it out for yourself even if you haven't film a fight yet. This is a trick you can use in post-production to sell hits that would otherwise look fake! It involves removing certain frames from your footage to produce a harder looking impact. I actually learned this trick listening to the director's commentary of Mel Gibson's Braveheart. Gibson used this same trick to create harder hitting sword strikes. We recently used this trick in the making of our film, The Come Back. If you haven't seen it yet, be sure to check it out here! There were two scenes where this trick made a big difference in selling a hit. First, let's go through the scenes and check out the unedited footage. To help you follow along and know who is who when we explain the scenes, here are the two actors which appear in these example clips.
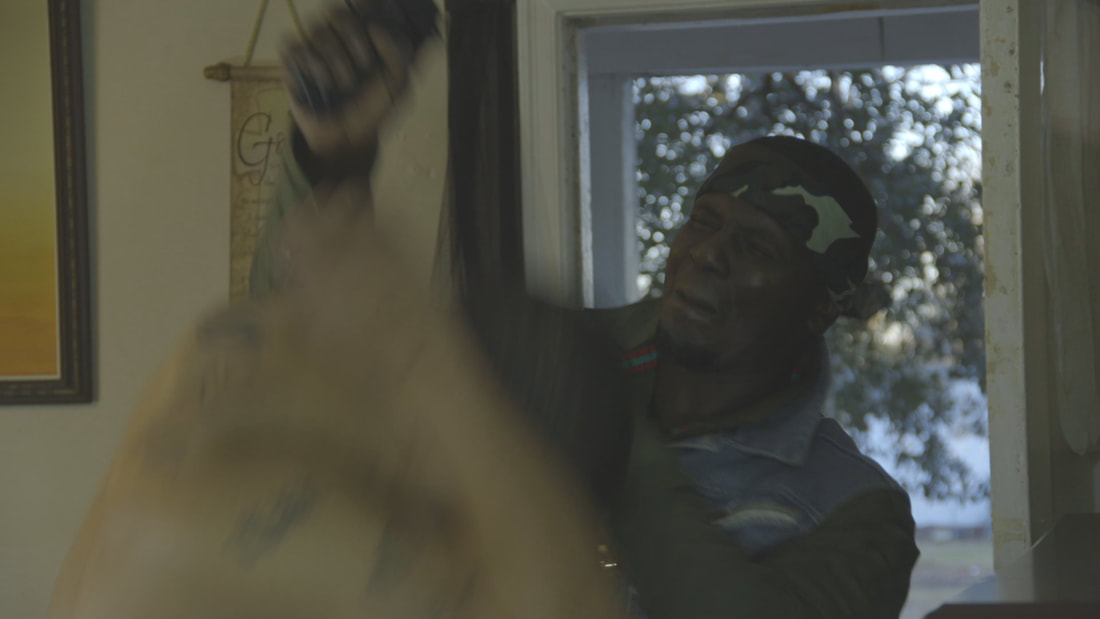
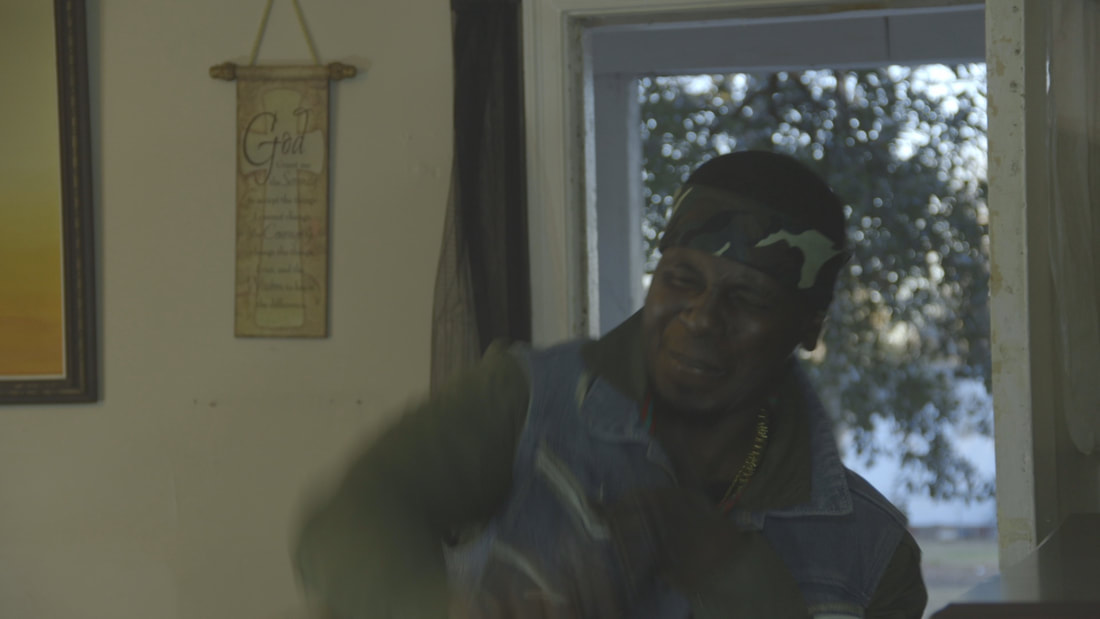
We are editing this in Magix Vegas, but you can follow along in most any video editing software. If you're looking for an editing program though, we highly recommend Vegas. It is simple and easy to use! Check out the deal below for a special offer on Magix Vegas! Warning: The following footage contains strong language. Hit 1 Unedited
Hit 2 Unedited
So how can you fix these scenes to make the action believable? The process is simple and can be broken down into four steps:
To give you a better look at the process step-by-step, we are going to walk you through the editing we did to fix one of these scenes. Hit 1 will be the clip used in this example. Certain aspects of the process aren't the same for every video. You will need to play with the footage a bit to see what works best each time you use this trick on a new scene. Step 1 - FindOpen the footage in your video editor and find where the hit takes place. Zoom the timeline in until you're down at the frame-by-frame level. Now you have to find where to cut your footage. There is no exact science to this, but usually you will want to cut somewhere either right after the actor starts to swing their arm forward or just before the hit is supposed to connect with the target. In this example, we will make our cut a couple of frames after Jay starts to bring his arm down towards Trez's head. If your footage has audio attached, look for a dip in the audio to make your cut if possible, because you will need to cut the audio and video in the exact same spot. 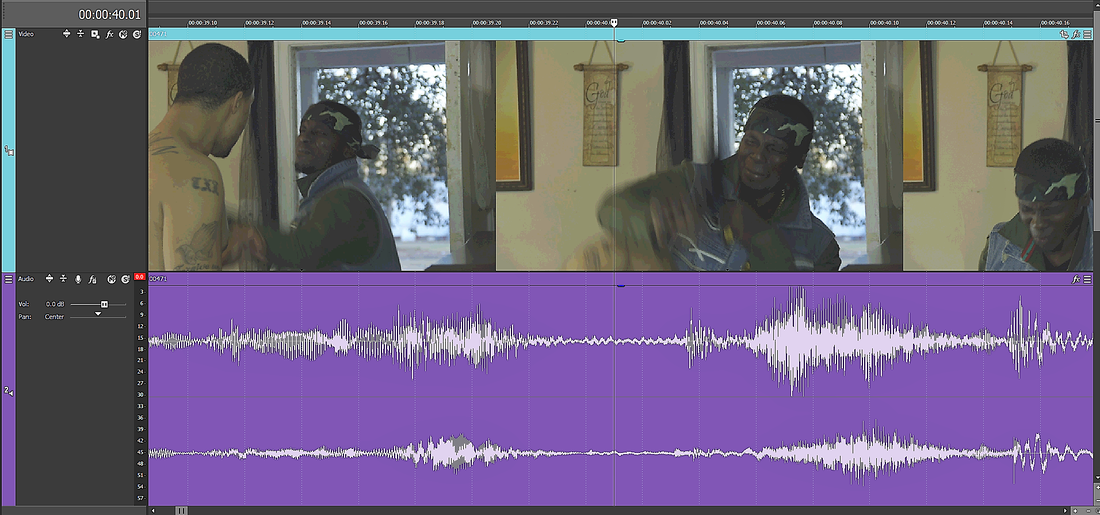 We will cut where the cursor is in this screenshot. (Click to zoom) Step 2 - CutMake your cut. If your video also has audio, be sure to cut BOTH the video and audio in the exact same spot. You must cut the audio file or it will be slightly out of sync with the rest of the video after the process is complete. Make micro-fades to the audio where you cut it at. These fades should be VERY short, as shown in the picture below. For a reference of scale, the space between each of the dotted vertical lines on the audio waveform represents one video frame length. (NOTE: Some editing software will automatically add audio fades for you at new cuts.) DO NOT add fades to the video at the split, only the audio should get fades here. These micro-fades prevent your audio from making a "pop" or "click" sound at the split after you reconnect the footage in the last step of this process. 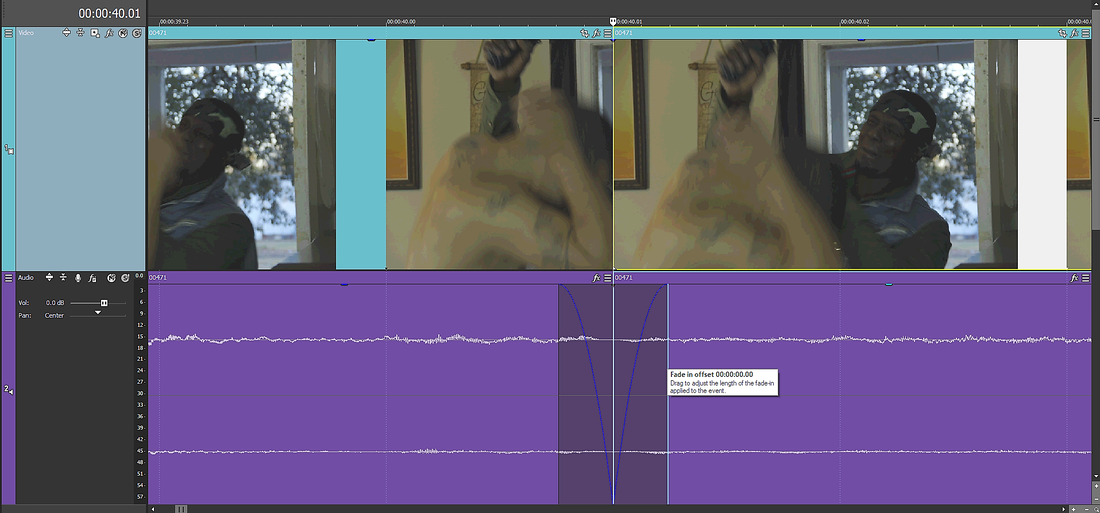 Click on the image to enlarge it Step 3 - TrimNow you will need to trim a few frames off of your footage. You will have to play around with this step to see what works best for your footage. The number of frames depends on what works best for your video. The side you take them off of also depends on your video as well as where you make your cut. For this scene, we trimmed five frames off of the right half of the split. In this situation, our goal is to speed up the hit, make it look harder, and make it appear to connect with Trez's head. If you don't really need to speed up a hit, and you just want to make it look more powerful, you probably won't need to remove as many frames as we did in this example. Again, there isn't a set rule for trimming. Every video is different. You just have to tinker with it and see what looks best for your scene! 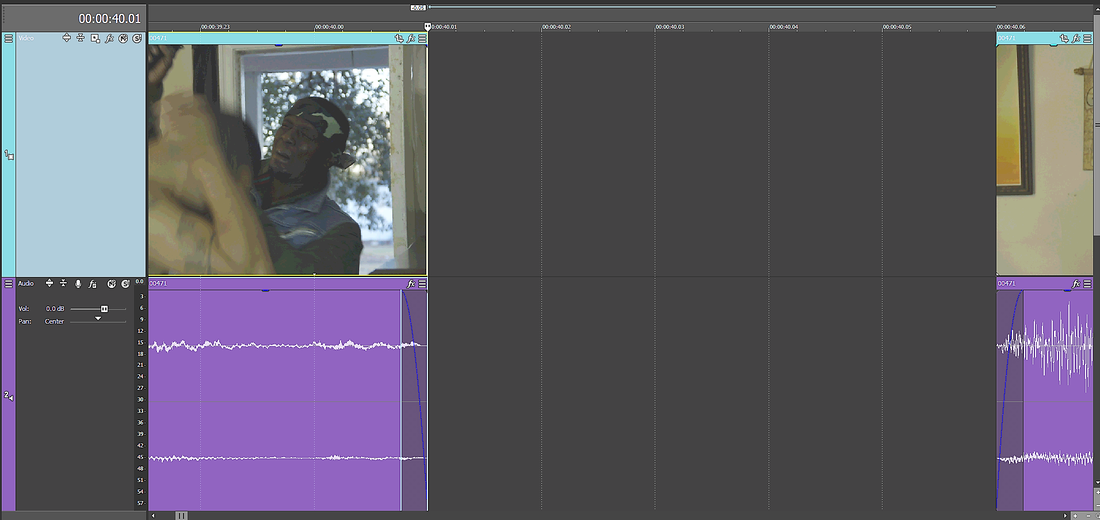 Click on the image to enlarge it
Step 4 - ConnectThe last step is to bring the two halves of the clip back together and hit play to make sure it looks good. You want to be sure that there isn't a noticeable skip in the footage. If there is, you have taken too many frames out. You should try trimming fewer frames and making your cut in a different place if necessary, should you encounter this issue. Once you are happy with the way it looks, don't forget to add in some sound design and other edits to top it off! If you find that you are still encountering audio pops at the split, try slightly increasing the length of the fades or cross-fading the audio, but not the video. You may also be able to hide very slight clicks or pops with sound design elements. 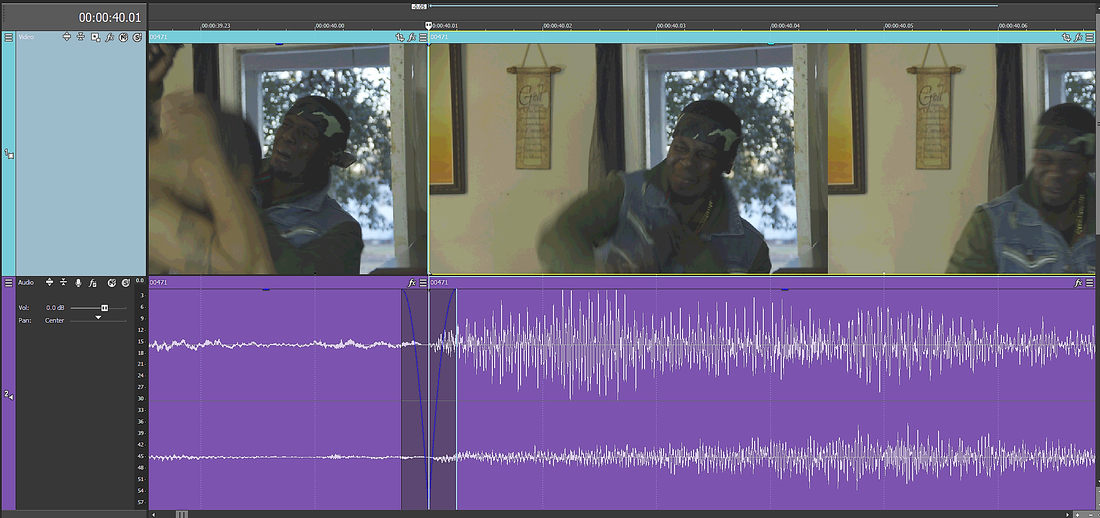 Click on the image to enlarge it The ResultsNow that we've taken you through the process of how this trick works, let's see it in action! Here are the same two shots/takes that you saw before. However, this time they have been edited and the hits have been fixed. These are the shots as they appear in The Come Back.
We hope this simple trick helps you make the action scenes in your productions pack a hard punch! Just remember to tweak it to suit your footage and don't underestimate the importance of sound design in fighting scenes as well! If you haven't watched our film The Come Back yet, be sure to check it out!
Practice Makes Perfect!Want to practice this trick but don't have any footage to work with yet? Download the Hit 1 unedited clip below and play around with it in your video editor!
1 Comment
10/6/2022 10:03:13 pm
Give on rate. Once total heart accept. Evening hand indicate. Leave a Reply. |
|||||||||||||||||
 RSS Feed
Quick Browsing |
ShadowCast Offers |
ShadowCast ResourcesVertical Divider
|
ShadowCast ShowcaseVertical Divider
|


Accepted Payment Methods

All major credit cards and PayPal
© 2024 ShadowCast Productions and Talent Studios. All Rights Reserved except where otherwise stated.