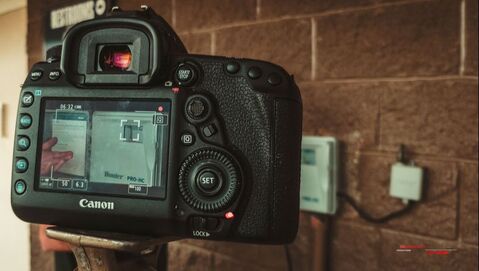
 Canon EOS 5D Mark IV DSLR on set Canon EOS 5D Mark IV DSLR on set
Versatile, high-quality, lightweight, reliable, rugged, affordable....for filmmakers, these are qualities which we would use to describe an ideal piece of filmmaking equipment. It's no surprise that DSLRs are a staple of the filmmaking community.
While they are most common among indie filmmakers; it is not unheard of for a DSLR to be on-set in a major motion picture production. DSLRs fit most any skill-set when it comes to their operation. Beginners can use the basic features of a DSLR with sharp results, while experienced users can delve into the settings to produce stunning shots. DSLRs can be outstanding filmmaking tools with the right skills and equipment to use with them. We're going to share some tips and tricks that can help you get more out of your DSLR camera! Most of this advice can be applied to all DSLRs. Rig It Up!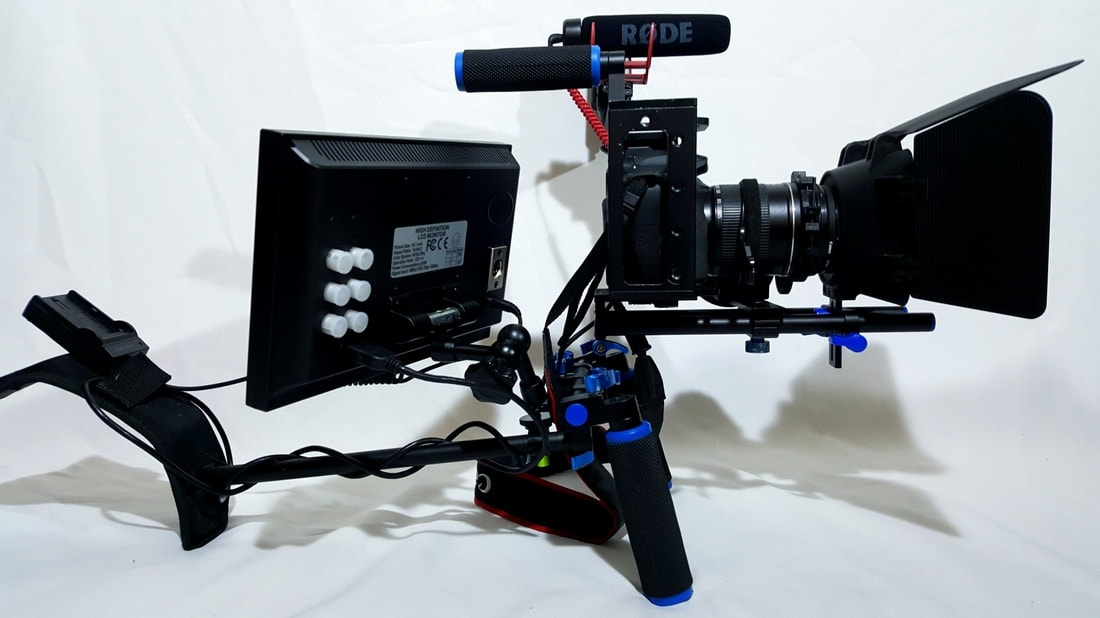 Our 1st DSLR- a Canon 60D on the rig we built Our 1st DSLR- a Canon 60D on the rig we built
A 15mm rail camera rig system is, in our opinion, among the most important camera accessories that you can invest in, especially when you're just starting out with video production. And it will likely prove to be equally valuable to have throughout your film/video career as well, even years later down the road. The 15mm rail system provides you with a modular, highly versatile platform for mounting various tools, accessories, and other equipment to enhance the functionality of your camera, help you operate it more effectively, and make it easier to capture the shot you want.
A 15mm rail rig was one of the first equipment purchases we made back when we were starting our studio. Our primary camera (and only "professional" camera) back then was a DSLR, the Canon EOS 60D. The rig really made a difference in the quality of our productions. Camera shake was greatly reduced because the rig takes your hands out of direct contact with the camera body itself and moves them further away. This allows movement to be spread out, making it far less jittery and twitchy. It is much easier to steady the rig rather than the camera body alone too. Multiple shoe mounts made it practical to use an on-camera light plus an on-camera shotgun mic and other tools together on one system. Check out our article about building a 15mm rail camera rig for more information about setting up your own filmmaking rig. You may be on a tight budget, especially those of you who are just starting out and in the process of purchasing all the essentials you need. We've been there and understand the struggle. That's what makes a 15mm rail rig such a great starting point when it comes to camera gear. You can put together a sturdy filmmaking camera rig for a reasonable price too! Here's a look at a great starter rig to use with your DSLR camera.
Invest in audio
The internal microphone on a DSLR is virtually useless if you're trying to produce professional, high-quality work. Even the top-of-the-line DSLRs can't capture good audio using the internal microphone. There just isn't room in the camera's body for a microphone that can give you high-quality audio. They also capture the noise of every little adjustment you make to the camera. Audio is critical to producing a professional quality film or video. You need an external microphone.
There are several options you have when looking for an external microphone for your DSLR camera. Among some of the most popular are shotgun microphones. Shotgun microphones are great on-camera, external mics and great mics to use off-camera (i.e. on a boom) too. They are directional microphones meaning that they focus on audio from a specific direction. In the case of shotgun mics, they capture audio from an area in front of where it is pointed. The capture area expands out in a cone shape the further away from the microphone you go, hence the name shotgun mic. This is great for your most frequent filming situation- subject in front of the camera at standard distances. You'll capture less audio from the areas you don't want and more of the audio from the sources in your shot. Just remember, as you get further away from the shotgun mic, the capture area expands meaning that distant audio sources won't be captured as clearly as nearer ones because the sound will be less focused. For situations requiring you to be filming several hundred yards from your subject (i.e. wildlife documentary shoots), you would still use a shotgun microphone, but you would also need to add a rifle microphone which captures audio clearly at long range. Here's our recommendation for a great shotgun mic to use with your DSLR camera.
DSLRs provide a basic level of control over your audio. Most video-capable DSLRs allow you to manually set the audio recording level, and some may have a few other options as well. You can work with this, but many users may find themselves wanting more versatility when it comes to audio. An on-camera audio field recorder can help you take your sound recording to the next level! Adding one to your DSLR gives you a complete mini recording studio on your camera and provides you with additional audio input jacks, including XLR jacks. It will also allow you to monitor your sound more effectively with headphones and displays.
Here's our recommendation for an on-camera field recorder.
Stay Neutral
If you're a new filmmaker, this tip might not be one you want to try on your actual productions yet; especially if you aren't experienced with color correction/grading, but practice with it in your free time. That's how you learn!
Cinema cameras let you film with a very flat color profile. This is known as a Log color profile. There are different types of Log color profiles. For example, C-Log is a profile some of Canon's cinema cameras have. Many of DJI's drones have a D-Log color profile option. The advantage of filming with a really flat color profile is that it gives you more room to color correct and grade your footage in post-production to give it more dynamic range. Most DSLRs typically record the opposite of Log. This is called Rec709. Rec709 footage has more vibrant colors and contrast than Log, but this means you have to be much more conservative with your correcting and grading in post. You can mimic a Log color profile in your DSLR if it doesn't offer one by default though. Look in your DSLR's menu and find the color profile controls. Select the flattest profile option. For most Canon DSLRs, it will be label "Neutral" and some may have a Cinestyle option in one of the custom slots. You can also create your own custom profile. If you create your own, you will want to turn the contrast all the way, or nearly all the way down, cut saturation down by at least half, and tinker with then other values to give you a flat picture. It will look ugly in the camera, but the results in post-production are well worth it once color corrected. The one value you probably want to leave unchanged in the camera's color profile is the hue setting. This shifts the hue of all colors up or down. Unless you are trying to capture a very specific look in-camera and are familiar with what this does, there's really no reason to change it The example below is a still frame from some footage we shot on our DSLR camera, a Canon 60D, using a tweaked version of the neutral profile. It shows the shot before and after color correction and grading. 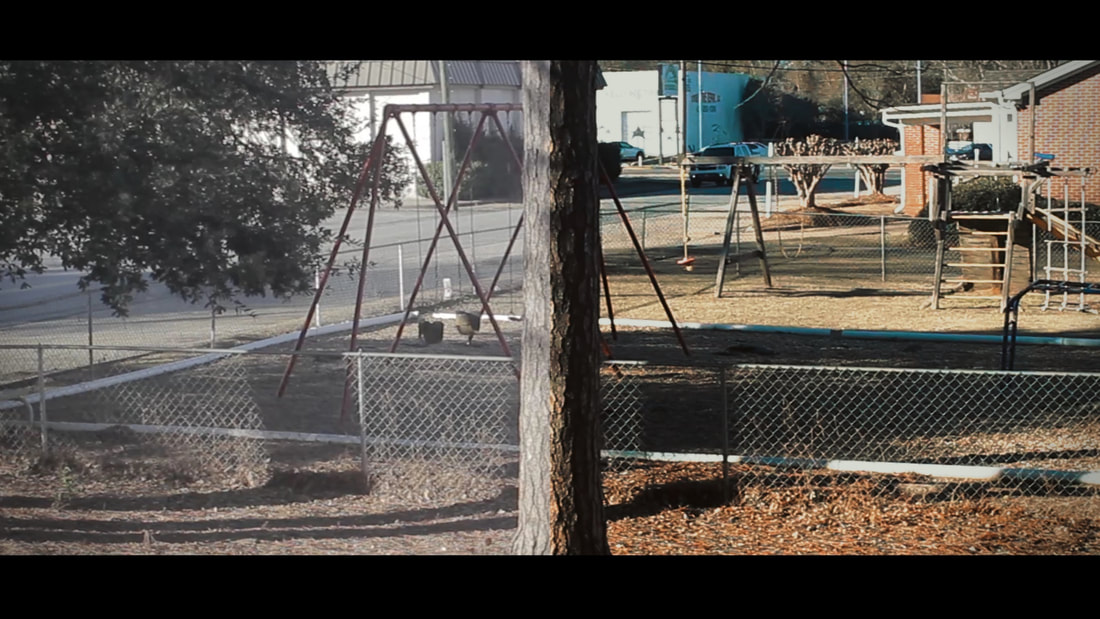
The left half of the frame is the unedited footage. The right is after post-production
Keep It Cool
DSLRs often heat up a good bit when shooting video, especially on long shoots. It is easy to overheat your camera if you are filming in hot conditions. Many DSLRs are black, so they will absorb lots of extra heat in direct sunlight. The battery can also be prone to overheating from sustained use in hot conditions. Heat is something you should be mindful of when using your DSLR. Not only can overheating effect your camera's performance; it could potentially damage your camera as well.
Watch for signs of your camera getting too hot. The most obvious sign is the camera feeling hot to the touch. It is normal for a camera to get somewhat warm during filming, but it shouldn't feel significantly hot to the touch. Another sign of overheating is when your camera starts to take longer to respond to commands, also known as "lagging." If you feel that your DSLR is getting too hot, you should get in some shade, a cooler place, or turn the camera off for a while as soon as possible. If you know that you will be filming in hot conditions, it's a good idea to bring a backup camera. That way you can give your main camera a break for a while if it starts to overheat. Get Lit!
You need your subject to be well lit, especially if you're filming with a DSLR. Most DSLR cameras capture a lot of noise at high ISO levels. The quality of your footage can be greatly improved just by using a few extra lights.
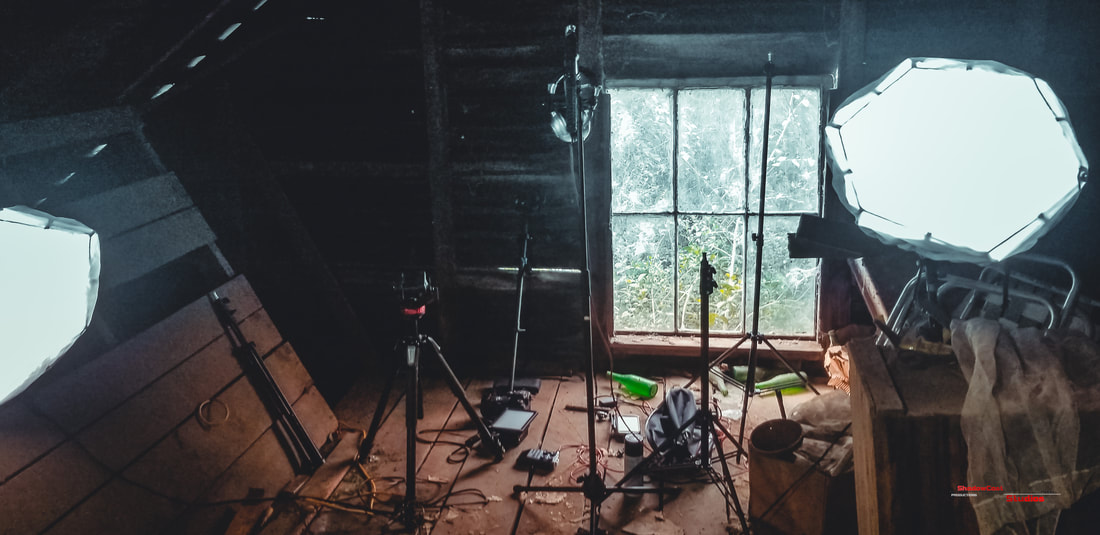
We normally use an on-camera key light and other lights, such as stand lights and softboxes, in addition to natural/practical light sources. If you can add a lamp to your scene or open a window during the daytime, you should do so. This is a great and easy way to bring more light into your shot.
There are lots of options when it comes to video lights. You should try to get the best lights you can though. Don't cheap out on lighting. Cheap video lights often have a green or magenta tinge to them rather than being pure natural-colored light. This may not be noticeable to the naked eye, but it can show up in your shots, especially on your subject's skin.
We hope these tips will help you improve the quality of your DSLR filmmaking! These are just a few of many tips and recommendations we have. Keep an eye out of more in our future posts.
Remember, the quality of the production starts with you, so never stop improving those skills. Now get out there and make magic! Loading...  RSS Feed RSS Feed
0 Comments
Leave a Reply. |
Quick Browsing |
ShadowCast Offers |
ShadowCast ResourcesVertical Divider
|
ShadowCast ShowcaseVertical Divider
|


Accepted Payment Methods

All major credit cards and PayPal
© 2024 ShadowCast Productions and Talent Studios. All Rights Reserved except where otherwise stated.